Just In
- 41 min ago

- 1 hr ago

- 1 hr ago

- 2 hrs ago

Don't Miss
- News
 WATCH Video: India Delivers First Set Of BrahMos Missiles To Philippines Amid China Concerns
 - Finance
 Hindustan Zinc's Quarterly Profits Dive 21% Amid Global Metal Price Slump, Shares Plummet; Buy Or Not?
 - Movies
 Ranam Aram Thavarel Full Movie Leaked Online In HD For Free Download Hours After It Hit The OTT Platform
 - Automobiles
 Ford Territory SUV Name Trademarked – Likely To Be Positioned Below The Everest SUV
 - Sports
 Roman Reigns transitioning to Hollywood after WWE WrestleMania 40 loss
 - Lifestyle
 Summer Fashion: Your Bollywood Style White Outfits Guide To Keep It Cool And Chic
 - Travel
 Journey From Delhi To Ooty: Top Transport Options And Attractions
 - Education
 IIIT-Bangalore Introduces PG Diploma In Digital Product Design And Management
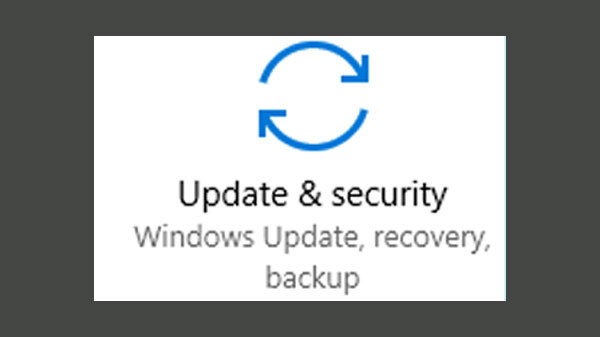
How To Disable Auto Update Feature On Widows 10 Permanently?
Microsoft Windows is the major driver you'll find on a laptop or PC today. The company has been adding a new set of customizations and features to its computing OS. Microsoft has been releasing the new version of Windows OS for the masses. The latest version which powers the new-generation laptops and PCs is the Windows 10 OS.

The operating system has been out for a while now and a large number of users have shifted to the latest OS. The Windows 10 OS brings several improvements and upgrades over its predecessor, i.e, Windows 8.1. The security aspects have also improved over the past few years.
Microsoft has also released an 'Auto Update' feature for the Windows OS that let the system download and install a new update automatically. This feature comes in handy if you wouldn't want to go through the hassle of a manual update every time. As useful as this feature is, some users tend to get annoyed by the consistent notification for a system update.
This sometimes hampers an ongoing process or your media playback and gaming sessions. If you are also trying to stop the Windows 10 'Auto update' feature, then the following are the steps you need to follow:
Steps To Stop Auto Updates On Windows 10 OS
Windows 10 comes with an option to both disable and pause an update on laptops and PCs. The latter will let the system halt the update procedure for a while so that you can complete the process without hampering your work.

Step 1: Open the Start menu and go to the Control panel.

Step 2: From the control panel locate the Administrative tools option.

Step 3: You will now need to go to the 'Services' tab and select the 'Windows Update' option.

Step 4: Select the 'Stop' option from the next page to stop the 'Auto update' feature.
The aforementioned steps are the first approach to turn off this feature. However, on some laptops or PCs, you might need to perform some other steps to turn-off auto-updates.
You can tweak the Windows update policy via the Local Group Policy Editor to stop the update permanently. However, you should be aware that this puts your device at a risk. A timely Windows update is recommended for better performance and system stability.
Step 1: From the Start menu go to the search bar and type gpedit.msc and then hit enter.
Step 2: From the next window Select Computer Configuration and then Administrative Templates.
Step 3: Now, Click on the Windows component followed by the Windows update tab.
Step 4: Select the 'Configure Automatic Updates' option and click on the 'Disable' option from the left.
Step 5: Make sure to click on the 'Apply' option to save the changes.
-
99,999
-
1,29,999
-
69,999
-
41,999
-
64,999
-
99,999
-
29,999
-
63,999
-
39,999
-
1,56,900
-
79,900
-
1,39,900
-
1,29,900
-
65,900
-
1,56,900
-
1,30,990
-
76,990
-
16,499
-
30,700
-
12,999
-
62,425
-
1,15,909
-
93,635
-
75,804
-
9,999
-
11,999
-
3,999
-
2,500
-
3,599
-
8,893


