Just In
- 2 min ago

- 20 min ago

- 35 min ago

- 58 min ago

Don't Miss
- Finance
 Tesla Announces Layoffs Of 14,000 Employees: Senior Executives Depart Amidst Sales Slump; Details
 - News
 J-K: Boat Capsizes In Jhelum River, Some People Feared Missing
 - Movies
 Salman Khan House Firing Case: Rakhi Sawant's VIRAL Video Raises Concern, Fans Warn 'Aisa Krogi To Tmko Na Maa
 - Sports
 FIDE Candidates Tournament: Gukesh D plays a draw with Nepomniachtch as both stay joint leaders, Vaishali picks up her first win; Player Standings After Round 10
 - Automobiles
 Ford Plans Major Return To Indian Market With Design Patent For New MPV
 - Lifestyle
 Chaitra Navratri 2024 Day 8: Maa Mahagauri Puja Vidhi, Vrat Katha, Mantra, And Aarti Lyrics
 - Education
 NEET PG 2024: Check the Registration and Exam Date Here
 - Travel
Maximise Your First Indian Adventure With These Travel Tips
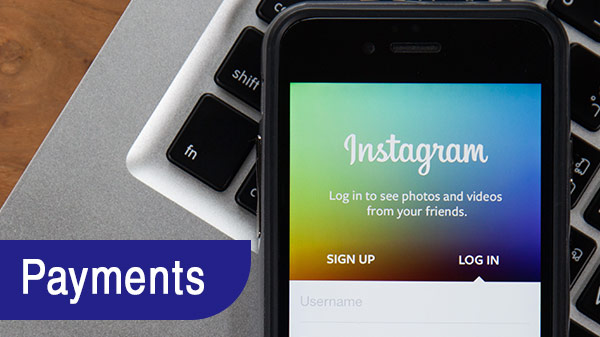
How to setup Instagram payments using simple procedure
Facebook owns both Instagram and WhatsApp
October 6, 2010. At 12:15 a.m., on that day, Instagram went live. Co-founder, Kevin Systrom had this to say in the company’s blog "We figured we'd have at least six hours before anyone discovered the app so we could grab some shut-eye." But it only took minutes for downloads to start pouring in. They had crossed 10,000 users in hours. The counter read 100,000 in a week and reached a million in two months.

Eight years and about a billion users later Instagram is one of the biggest players in the social media game. Frequent updates that enhance user experience and the removal of unnecessary clutter has been a factor that has constructive for this as well.
In addition to Yes/No polls, emoji sliders, and more, there is another feature that Instagram has been testing on its platform which will allow its users to shop directly using this app.
The ready-to-use guide that can be used is as given below:
Prerequisites:
The latest version of the Instagram app must be installed on the system. If an older version of the app is being run on the system, it must be updated in order to be able to use this feature, you can quickly check how updated your system is by doing the following:
1) If you have not enabled the auto-update option, access the Google Play Store and look for the Instagram app.
2) Go to the page of the app and check to see if it has the 'Update’ button instead of the 'Install’ option.
3) Click on the 'Update’ button to download the latest version of the app.
Adding the payment method:
1. Access the Instagram app. Either from the launcher or by using the home screen shortcut.
2. Click on the avatar icon that can be found on the bottom-right corner of the page.
3. The 'Settings’ option can be accessed by clicking on the vertical three-dot menu that is available in the top-right corner of this page.
4. Scroll down till you come to the 'Payments’ option.
5. Clicking on this will allow you to access a page which gives you three options to access – Activity, Profile, and Security.
6. Access the section titled 'Profile’ that is available in the center and then click the option titled 'Add debit or credit card.’
7. You may enter the details of your credit card or debit card over here.
8. You have the option of deleting the details of your card at any time.
9. It would be wise to carefully go through the Payments Terms that is given at the bottom of this page.
10. Click on the option called 'Security’ in order to add a 'Pin.’ This can be used to restrict unauthorized access to the app.
Steps to remove the payment method:
Go to the 'Profile’ tab that is available in the 'Payments’ section of the app.
Choose the card details that you have added and then click on the '>’ icon that is available to the right.
Click the 'Remove’ button that is at the bottom of the card page for successfully removing the card.
Note: An amount of approximately Rs. 71 will be deducted in favor of Facebook payment.
-
99,999
-
1,29,999
-
69,999
-
41,999
-
64,999
-
99,999
-
29,999
-
63,999
-
39,999
-
1,56,900
-
79,900
-
1,39,900
-
1,29,900
-
65,900
-
1,56,900
-
1,30,990
-
76,990
-
16,499
-
30,700
-
12,999
-
3,999
-
2,500
-
3,599
-
8,893
-
13,999
-
32,999
-
9,990
-
12,999
-
25,377
-
23,490


