Just In
- 11 hrs ago

- 11 hrs ago

- 13 hrs ago

- 14 hrs ago

Don't Miss
- Sports
 T20 World Cup 2024: Travis Head, Jake Fraser-McGurk Emerge as Top Contenders for Australian WC Squad With Dominant IPL 2024 Performances
 - Finance
 1:1 Bonus Shares: 2nd May Fixed As Record Date; Bet On The Stock To Be Eligible?
 - News
 US House Passes $95 Billion Aid For Ukraine, Israel And Taiwan
 - Lifestyle
 Ananya Panday Ups Her Summer Style Game For Femina Magazine Shoot, Get Inspired!
 - Movies
 When Aishwarya Rai Gives ‘Classy Slap’ On Journalist’s Face For Asking Her To Pose Nude, Watch Video
 - Education
 Assam Class 10 Result 2024 Declared: Anurag Emerged as the Top Performer With 593 Marks
 - Automobiles
 Tata Altroz Records a 55% Sales Growth in March 2024
 - Travel
 Journey From Delhi To Ooty: Top Transport Options And Attractions
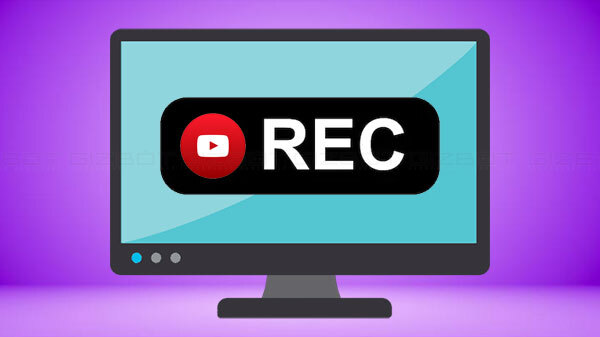
How To Record Desktop Screen Using YouTube
You might come across many third party screen-recording software that can help to record the screen of the desktop. Later on you can play it as a video. You can record your computer screen with it too. But when you have a windows 10 screen, you don't require a third party screen recording.

To record the screenplay, you can easily use the built in feature of the YouTube. If you use the built in recorder, you can easily upload the video on YouTube and that too directly.
Steps to record the desktop screen with YouTube
The following steps can be followed so that you can record the desktop screen with YouTube. It is a straight and simple method and the following steps are easy too.
Step 1: Firstly you will have to ensure that you have a google account. With the help of your google account, you will have to sign in to YouTube. In case you do not have a google account, make sure you create one.
Step 2: After you sign in to YouTube, you and click on the upload button. You can find it on the upper left corner of the screen. Then you can check all the events that you can find under the section of Live Streaming. In case you are using YouTube for the first time, you will have to do the verification first before you go on further.
Step 3: Then you will have to go on to the Create Event Page. There you are required to fill all the details for the new screen cast. After filling the details, you will have to click on to Enable Live Streaming.
Step 4: On the next step, you will have to go on to Air Page or the Hangouts Page. Turn off the Click on the Camera icon there. It will automatically turn off the webcam recording. In the left toolbox, you will have to click on to the Screenshare button.
Step 5: The desktop window should be selected. It is the one you are required to record your screencast. Then go to Start Screenshare Burton and click on it. To start the recording, you will have to click on the Start broadcast button.
Step 6: Your broadcast cannot be watched when it's being recorded as it is a private session. After you have recorded it, you will have to press on the Stop broadcast button. Then go to YouTube website.
The Screencast video can easily be seen on the YouTube dashboard. There you can download the video and then save it in google drive. You will find the recorded video, in the My videos section. Anything that is there in your computer screen can be found over here. Even gaming videos can be recorded this way. It's the easiest method to record it as well as to share it with the world, and since it's built in in YouTube, there is no chance of account banning.
-
99,999
-
1,29,999
-
69,999
-
41,999
-
64,999
-
99,999
-
29,999
-
63,999
-
39,999
-
1,56,900
-
79,900
-
1,39,900
-
1,29,900
-
65,900
-
1,56,900
-
1,30,990
-
76,990
-
16,499
-
30,700
-
12,999
-
18,800
-
62,425
-
1,15,909
-
93,635
-
75,804
-
9,999
-
11,999
-
3,999
-
2,500
-
3,599


