Most important Photoshop skills every photographers should know
Photography and editing go hand in hand. If you are learning photography, it is better to learn basic editing skills as well. While some of them don't prefer editing, most do. If you’re new to photography, editing your images might seem daunting.
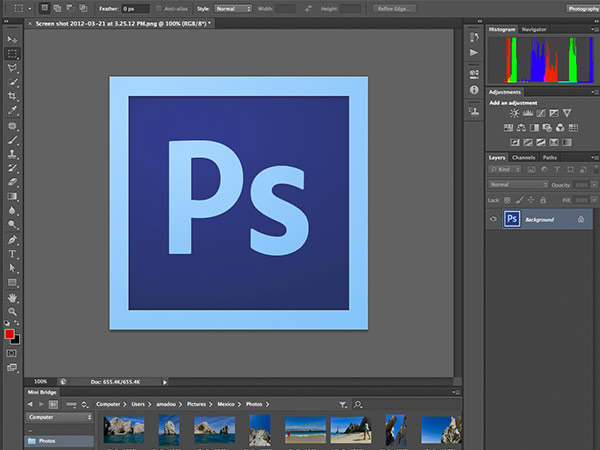
While there are many software out there, you can do pretty same basic tasks to improve your images in any of them. Today, we have listed some of the basic things you need to concentrate on to get your picture right.

Brightness and contrast
First off, these adjustments can be an important tool in finding and correcting flaws in exposure. Adjusting these things is quite easy when it comes to Lightroom than doing it in an Adobe Photoshop. However, it is important to be comfortable in any software, which comes handy at times.
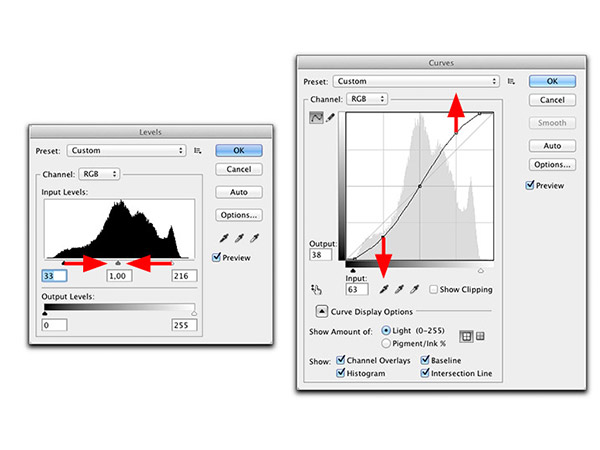
Curves and levels
While the brightness and contrast apply for the whole image, the curves and levels allow you to make more finely tuned adjustments. These options allow you to pick the exact black, white and grey points in the image and allows you to tune it.
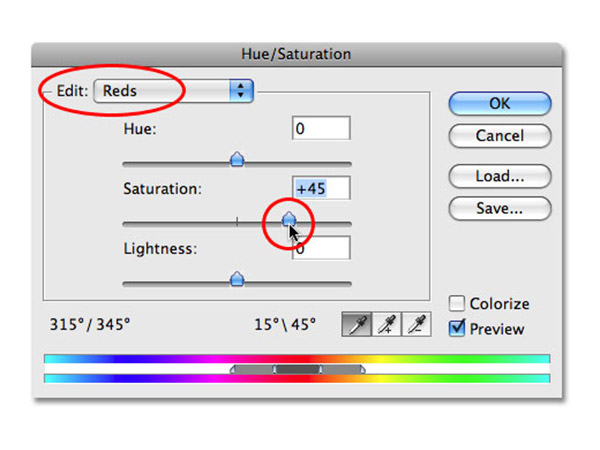
Saturation
You have to be careful when adjusting the saturation. You can very easily bump a little too much on the sides, which will make you photograph artificial. The most common uses of this tool in my workflow are for adjusting skin tones.

Color lookup table
The so-called color lookup table allows us to mesh all adjustment layers into one convenient location. Moreover, it advisable to have a clean adjustment layer in order to avoid confusion.
SEE ALSO: How to get verified on Twitter

Histogram
The histogram is a graph that shows the tonal range of your image. The x-axis indicates brightness, while the y-axis shows the number of pixels for each of the tones. Moreover, you can use the histogram to judge the exposure of your image.

Cloning and healing
The clone stamp and healing brush are two of your most important features when it comes to removing unwanted elements from your image.
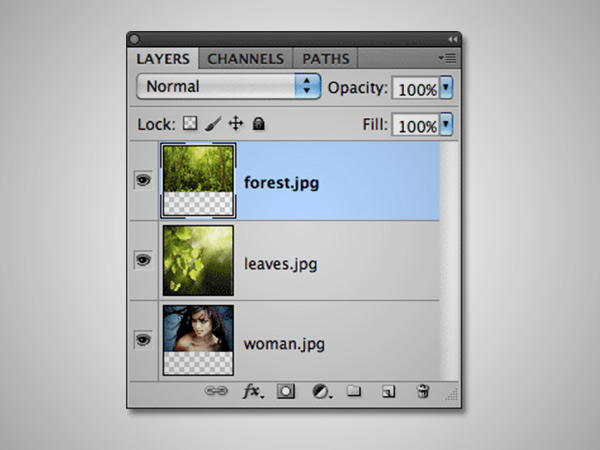
Working with layers
In a photo, each layer contains data and the data visibility is based on each layer's opacity and blending mode. By making changes to the opacity on the top layer, we can make changes to parts of the image.


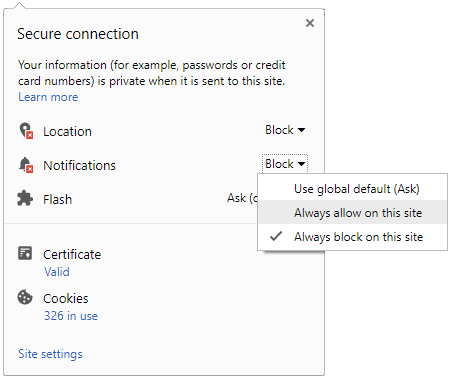
 Click it and Unblock the Notifications





-1763362932432.svg)